Login
Parts
Kits
Service Tools
Warranty
Login
RPM Industries, LLC. Will provide you with a URL to be used as the
access address to the RPM Information System in your web browser. You
will also need the Username and the Password of your account.
Figure 1.1. Login Screen
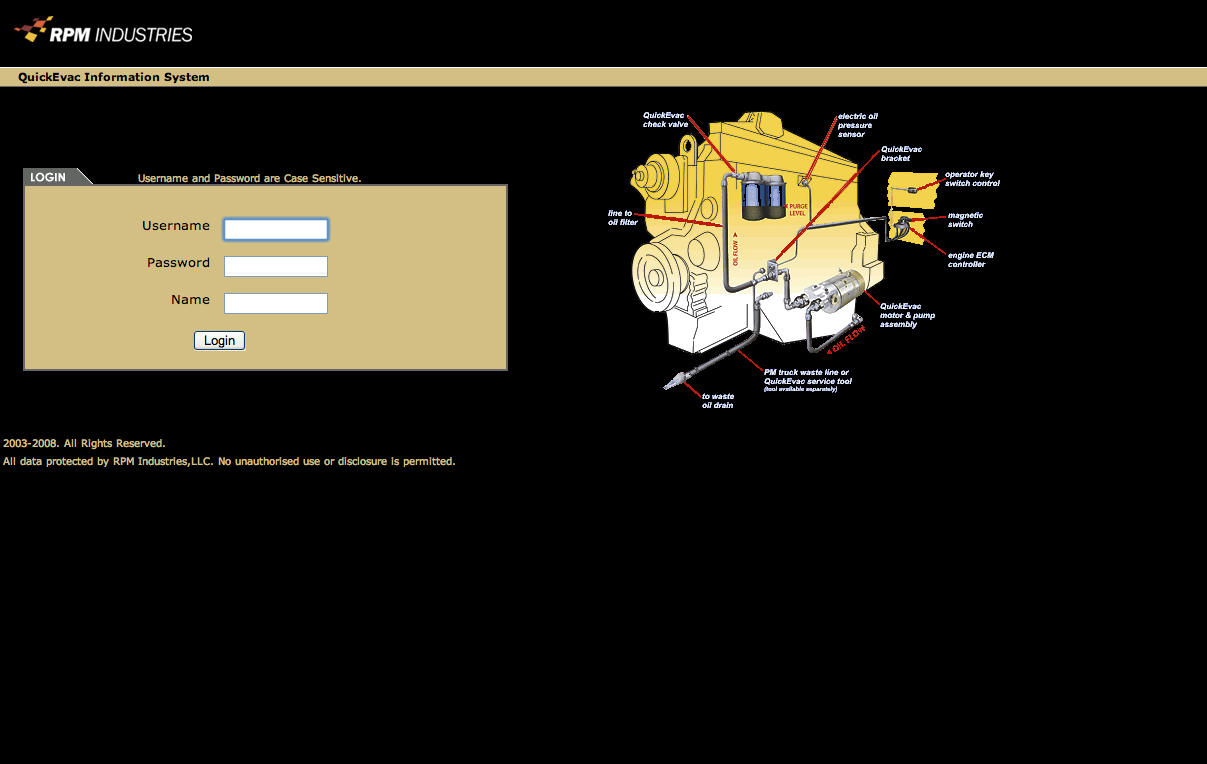
Upon
starting the RPM Information System software, the Login screen will
appear as above. The user must type an Username, Password and Name
into the available fields. The name field is a unique identifier and
will be used to route shipments to the appropriate user. After
entering the Username, Password and Name, press <Enter>,
or click the Login Button.
Parts
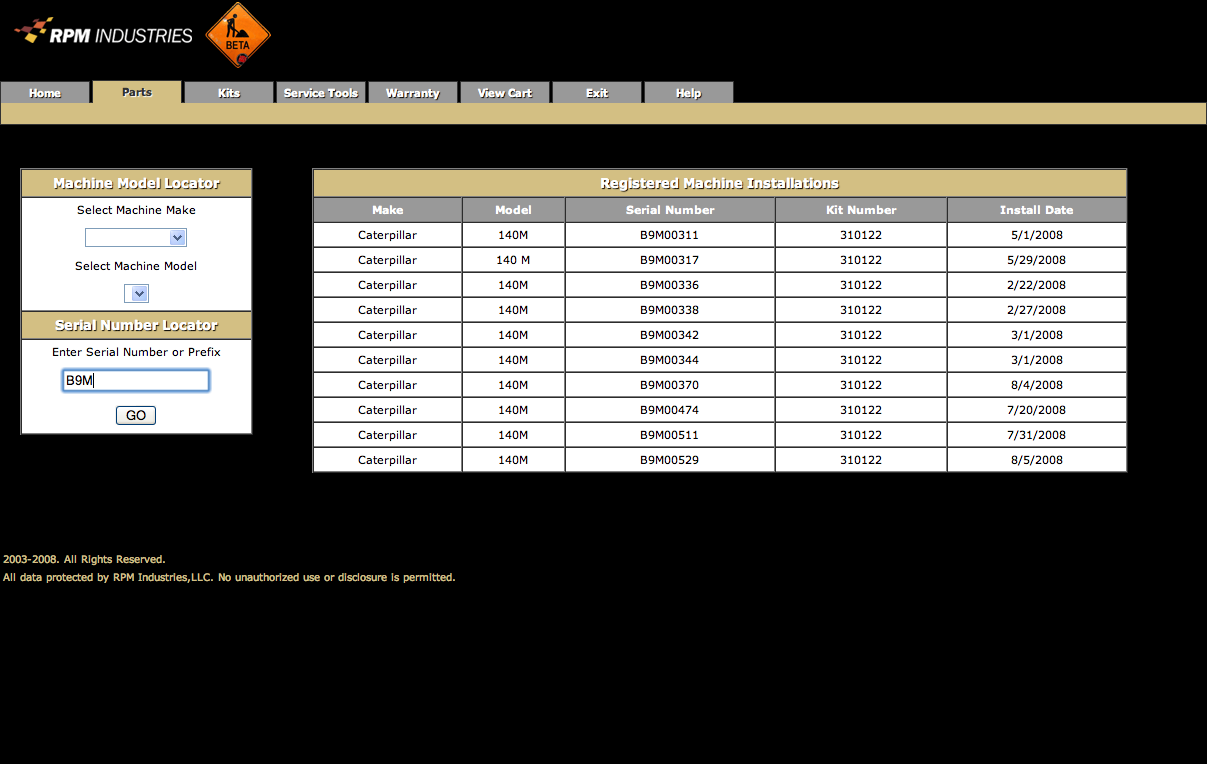
After login, you will get to the Parts lookup screen.
The screen shown below demonstrates a lookup based on machine
serial prefix. In this case, B9M was used as the criteria and list of
Registered Machine Installations was populated to match. To get more
information about a specific machine, click the Kit Number
link for that machine. The Serial Number Locator is able search for
any part of a machine serial number. For example, if you knew that
the last 4 digits of the serial number were 1234, you can use 1234 as
the search criteria and the list of Installations will include all
machines with 1234 in their serial number, just as we did with B9M in
the example shown.
You may also search using the Machine Model Locator if you don't
know the serial number. Select the appropriate manufacturer from the
Machine Make dropdown box. This will refresh the model
dropdown box and may take a few seconds. Once the model dropdown box
has been refreshed, select the appropriate model from the Machine
Model dropdown box. This will refresh the Registered Machine
Installations to match the Make and Model criteria selected. To get
more information about a specific machine, click the Kit Number
link for that machine.
Figure 2.1. Parts
After clicking the Kit Number link you will be shown the
Motor page. This page has information about the pumping motor
installed on the machine chosen on the previous screen. To get
information about the plumbing components installed on the machine,
click the Plumbing Kit link (Figure 2.3). Electrical
information can be obtained by clicking the Electrical Kit
link (Figure 2.4). For troubleshooting hints, click the
Troubleshooting link.
Figure 2.2. Motor specifications
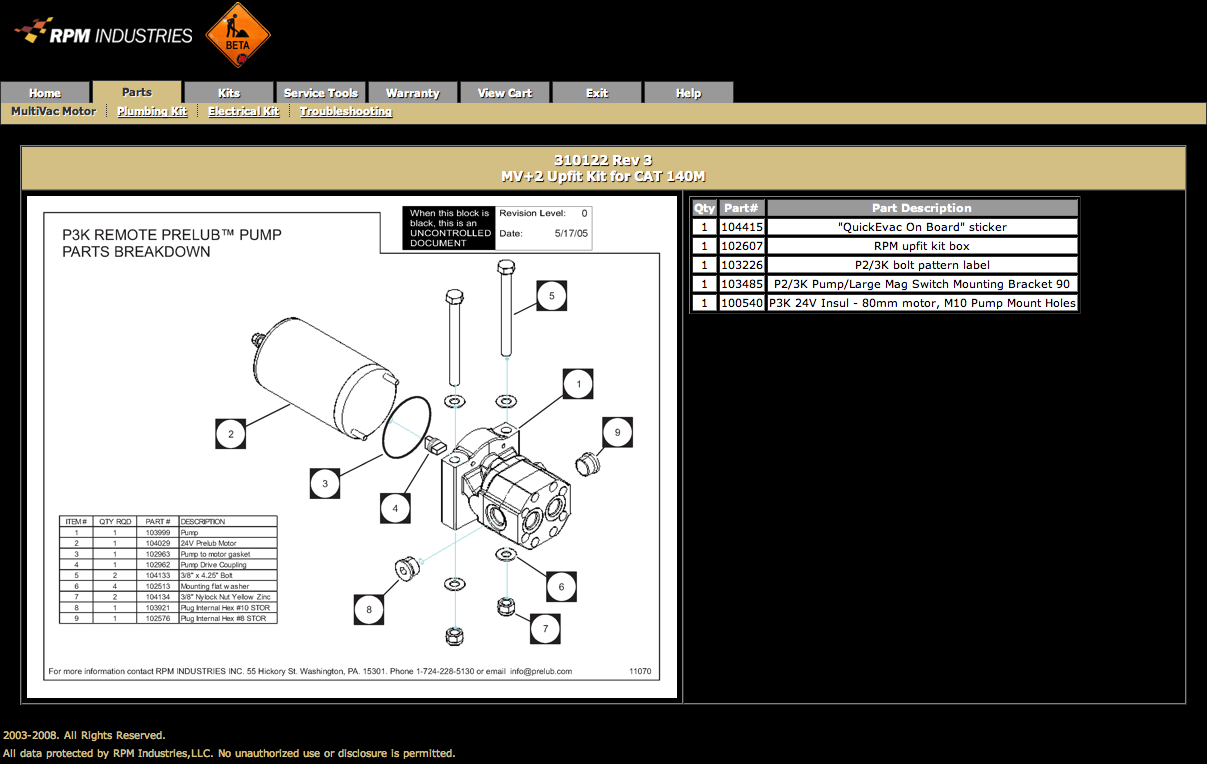
To get more information about a specific part click the
corresponding Part# link.
Figure 2.3. Plumbing specifications
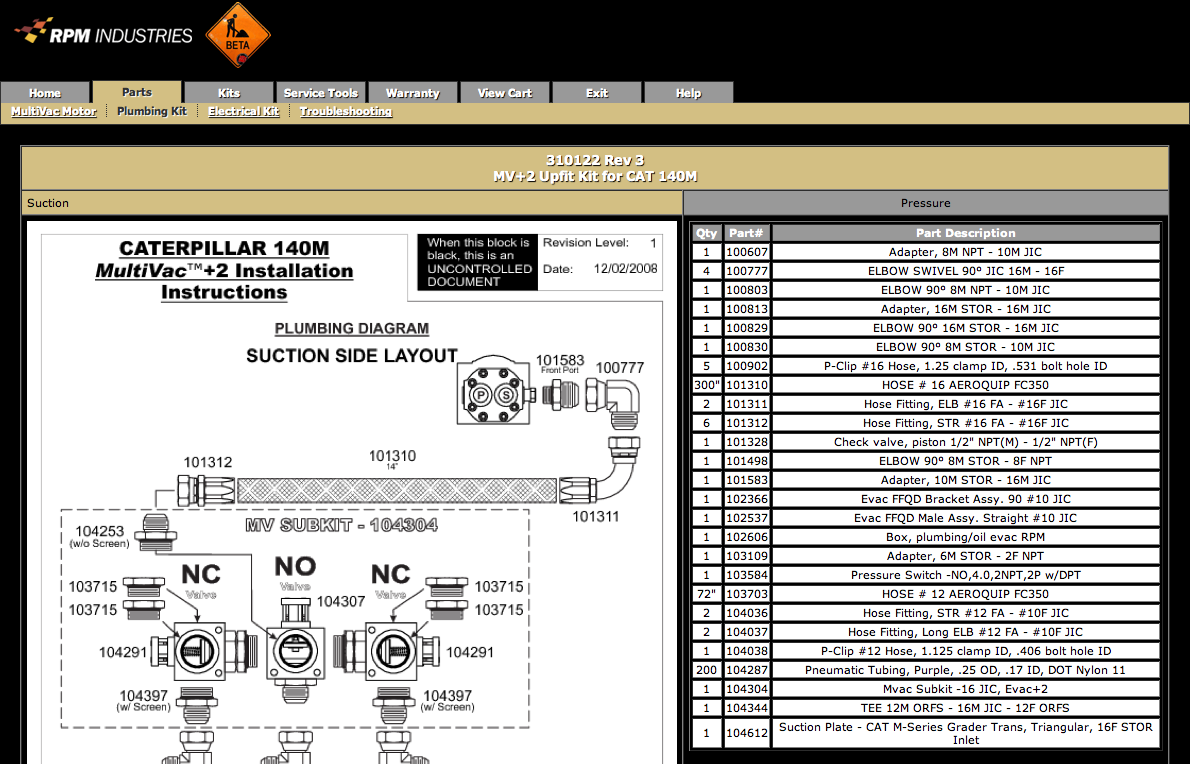
To get more information about a specific part click the
corresponding Part# link. To download machine specific
installation instructions (PDF format) click the Installation
Instructions graphic.
MultiVac equipped machines have two plumbing sections, Suction
(default) and Pressure (Figure 2.3.1). To toggle between the two
sections click the Suction and Pressure links under the
kit information banner.
Figure 2.3.1 Plumbing specifications – Pressure section
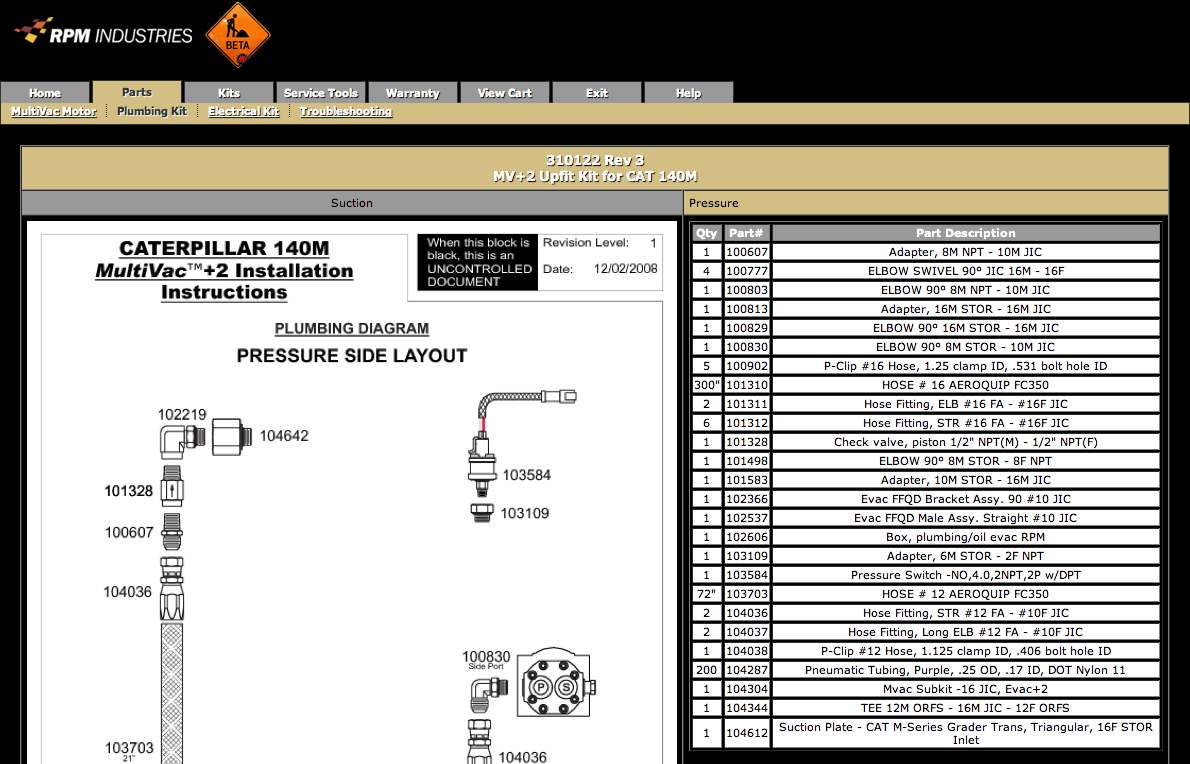
The Pressure section works the same way as the Suction. To get
more information about a specific part click the corresponding Part#
link. To download machine specific installation instructions (PDF
format) click the Installation Instructions graphic.
Figure 2.4. Electrical specifications
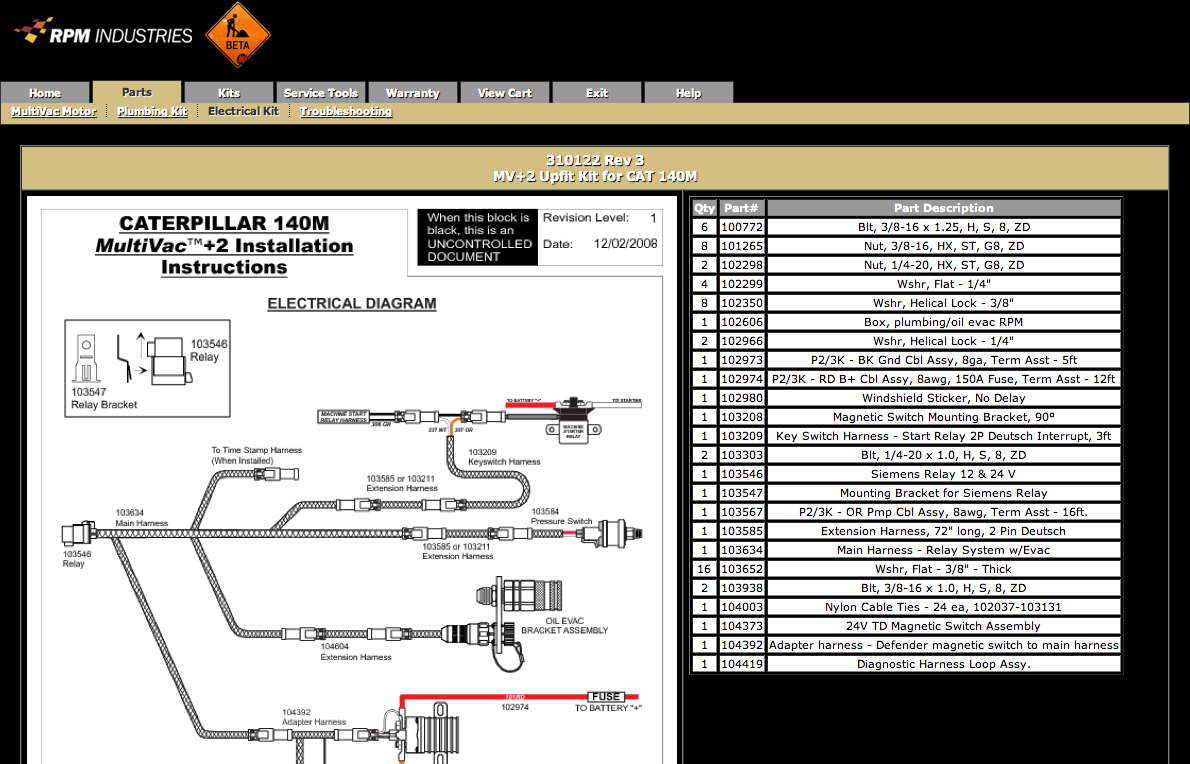
The Electrical screen works the same way as the Plumbing. To get
more information about a specific part click the corresponding Part#
link. To download machine specific installation instructions (PDF
format) click the Installation Instructions graphic.
Figure 2.4.1. Part Information
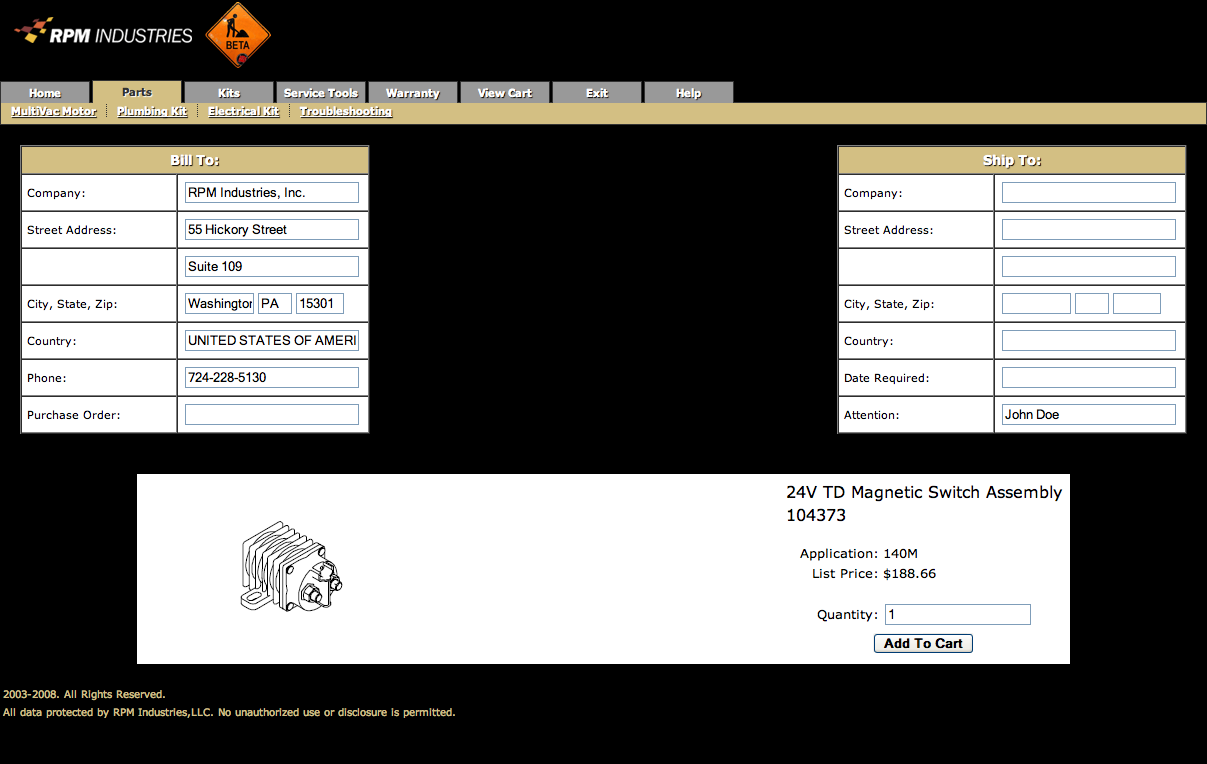
When you click on a Part# link you will be presented with a
page that looks similar to Figure 2.4.1 with a picture/drawing of the
part if available. To place the item in your cart, complete the
shipping information above including Purchase Order number and Date
Required, adjust the Quantity of the item if necessary and click the
Add To Cart button. This will take you to the View Cart
page shown in Figure 2.4.2. You can access this page at any time
during your session by clicking the View Cart tab as well.
Figure 2.4.2. Cart
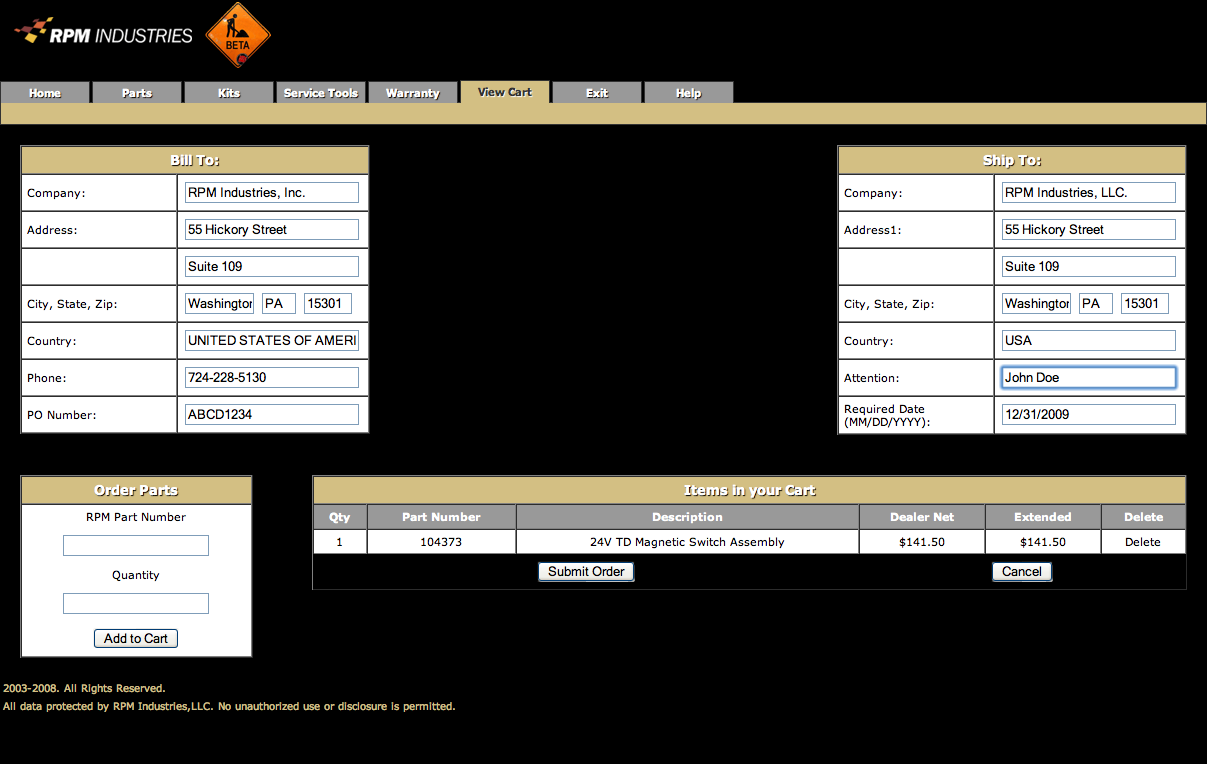
If you know the RPM Part Number you wish to order, you can add it
directly to the cart by entering the part number and quantity under
the Order Parts section and click the Add to Cart button.
Once all of the parts to be ordered are listed in the Items in
your Cart section, to place the order click the Submit Order
button. Click the Cancel button to clear all of the items
from your Cart.
Figure 2.4.3. Order Confirmation
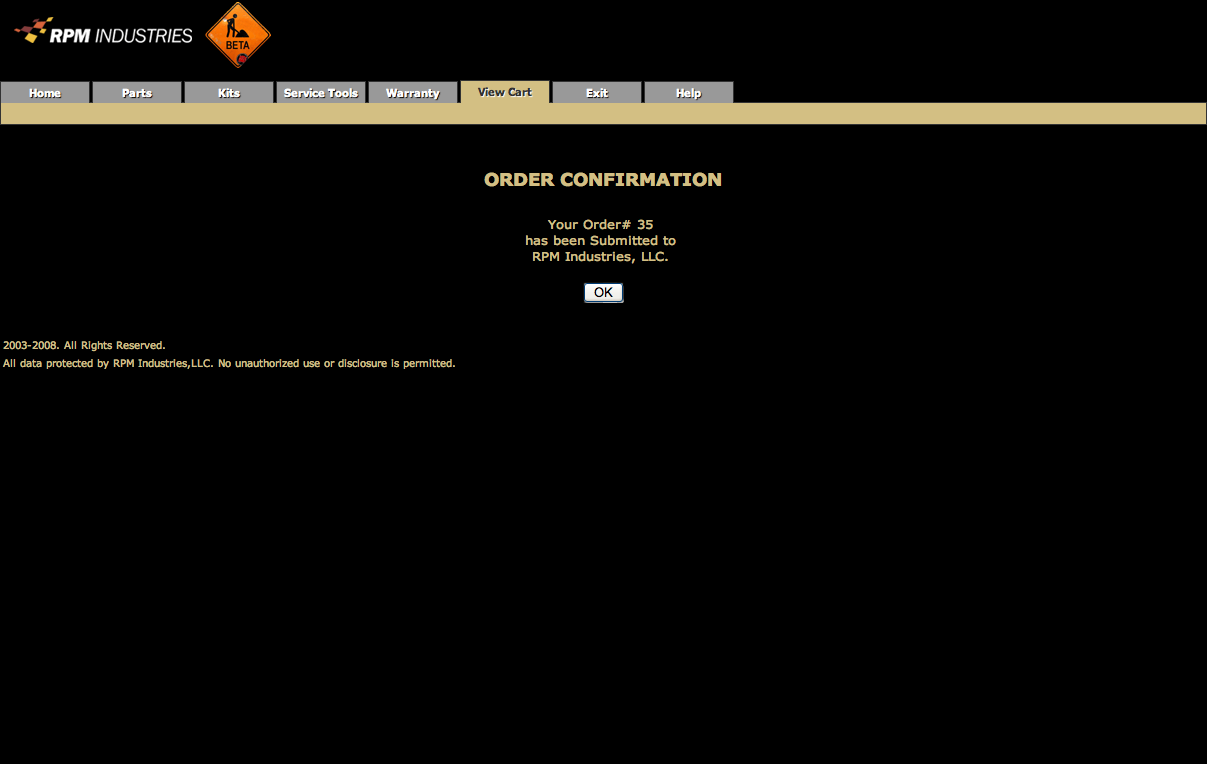
Once the order has been processed, a confirmation screen like the
one shown above will appear. An email with the order details will be
sent to the account owner. Please record your confirmation number.
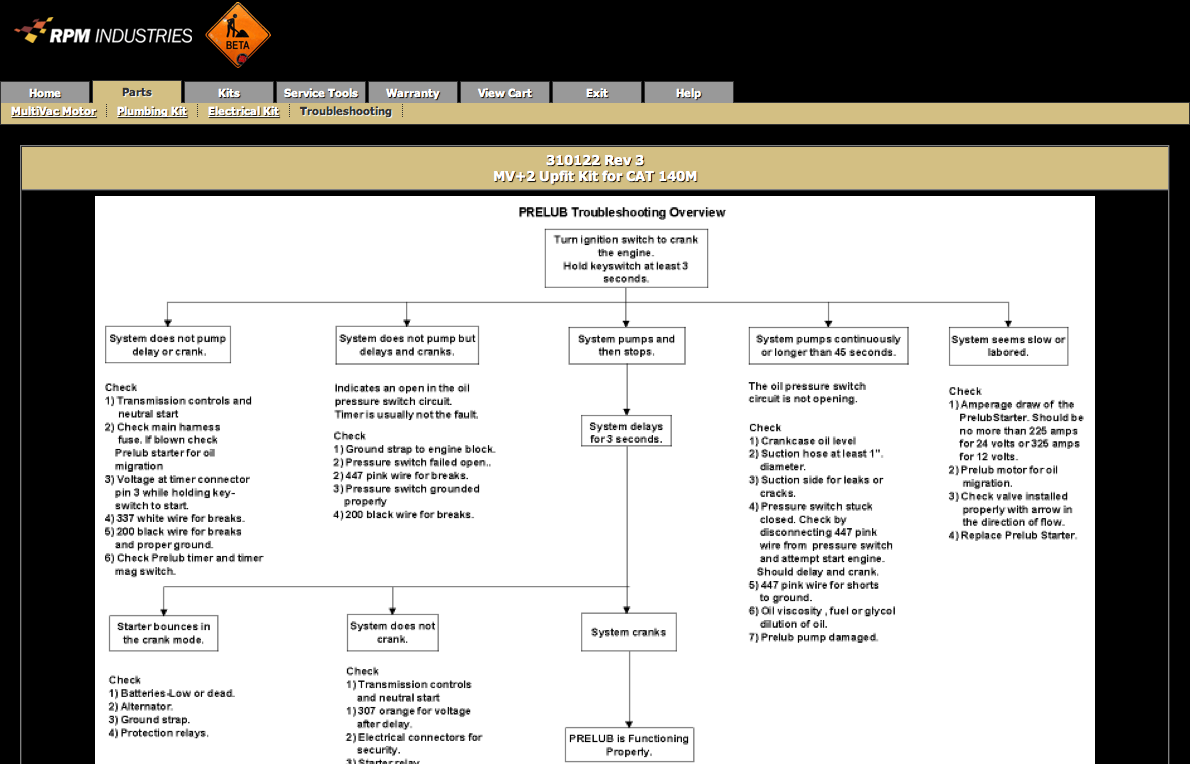
Figure 2.5. Troubleshooting
Kits
The Kits tab on the website is where you go to order QuickEvac and
MultiVac for installation on a machine.
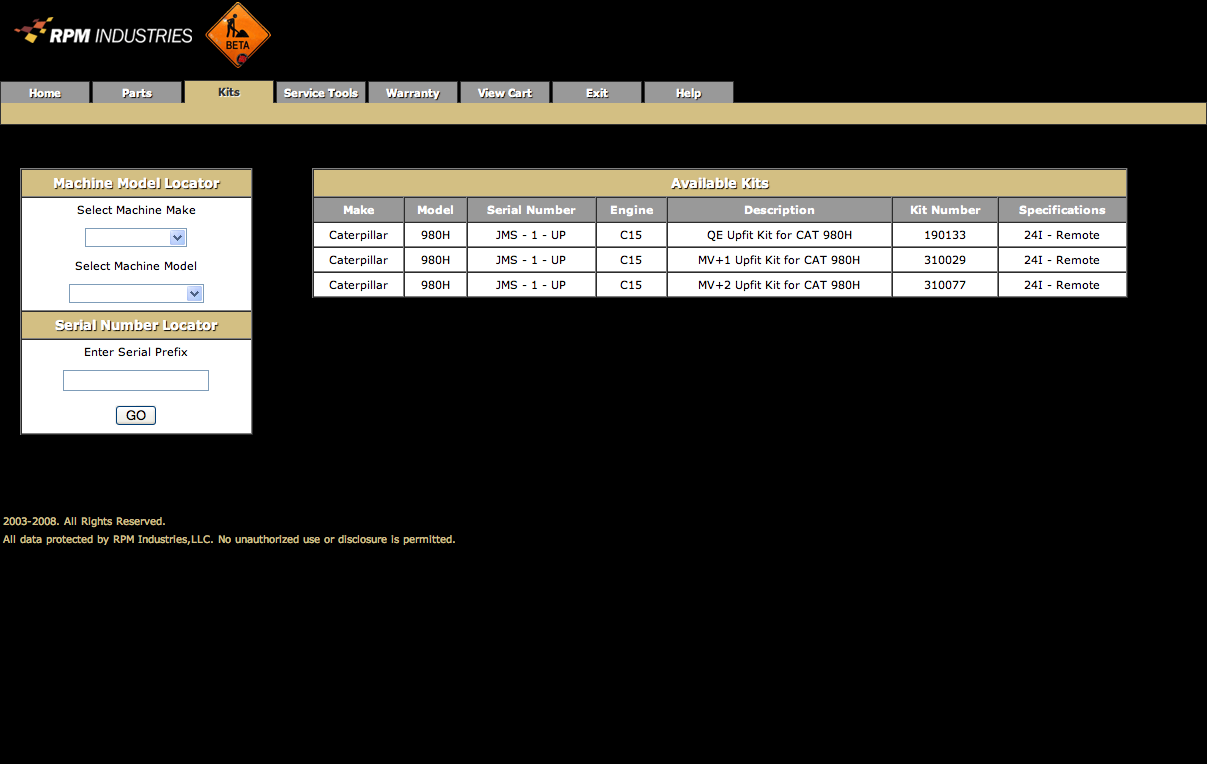
The screen shown below demonstrates a lookup based on machine
serial prefix. In this case, JMS was used as the criteria and list of
Available Kits was populated to match. To get more information about
a specific kit, click the Kit Number link for that machine.
The Serial Number Locator is able search for serial number prefixes.
Serial number breaks are shown under the Serial Number column.
You may also search using the Machine Model Locator if you don't
know have a serial number prefix. Select the appropriate manufacturer
from the Machine Make dropdown box. This will refresh the
model dropdown box and may take a few seconds. Once the model
dropdown box has been refreshed, select the appropriate model from
the Machine Model dropdown box. This will refresh the
Available Kits to match the Make and Model criteria selected. To get
more information about a specific kit, click the Kit Number
link for that machine.
Figure 3.1. Kits
After clicking the Kit Number link you will be shown the
Kit Information page. This page has information about the machine and
kit chosen on the previous screen.
Figure 3.2. Kit Information

To place the kit in your cart, complete the shipping information
above including Machine Serial Number, Date Required, and the
Quantity of the item and click the Add To Cart button. This
will take you to the View Cart page shown in Figure 2.4.2 and
you complete the ordering process as outlined above.
Service Tools
Clicking on the Service Tools tab will show a listing of
available service tools to complement the QuickEvac and MultiVac kits
as shown below.
Figure 4. Service Tools
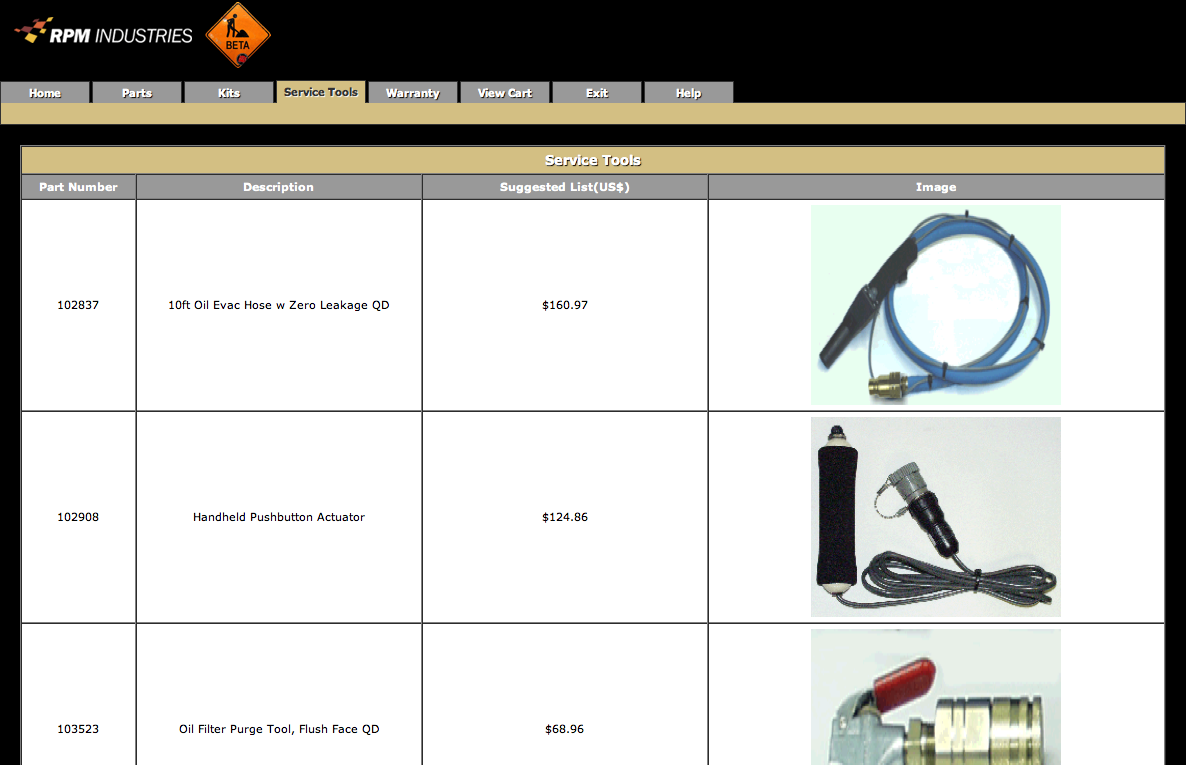
Clicking on the Part Number link will take you to a Parts
Information page similar to Figure 2.4.1. Fill out the appropriate
fields as explained above and click Add To Cart button to add
a service tool to your cart.
Warranty
Figure 5.1. Warranty Claim Form
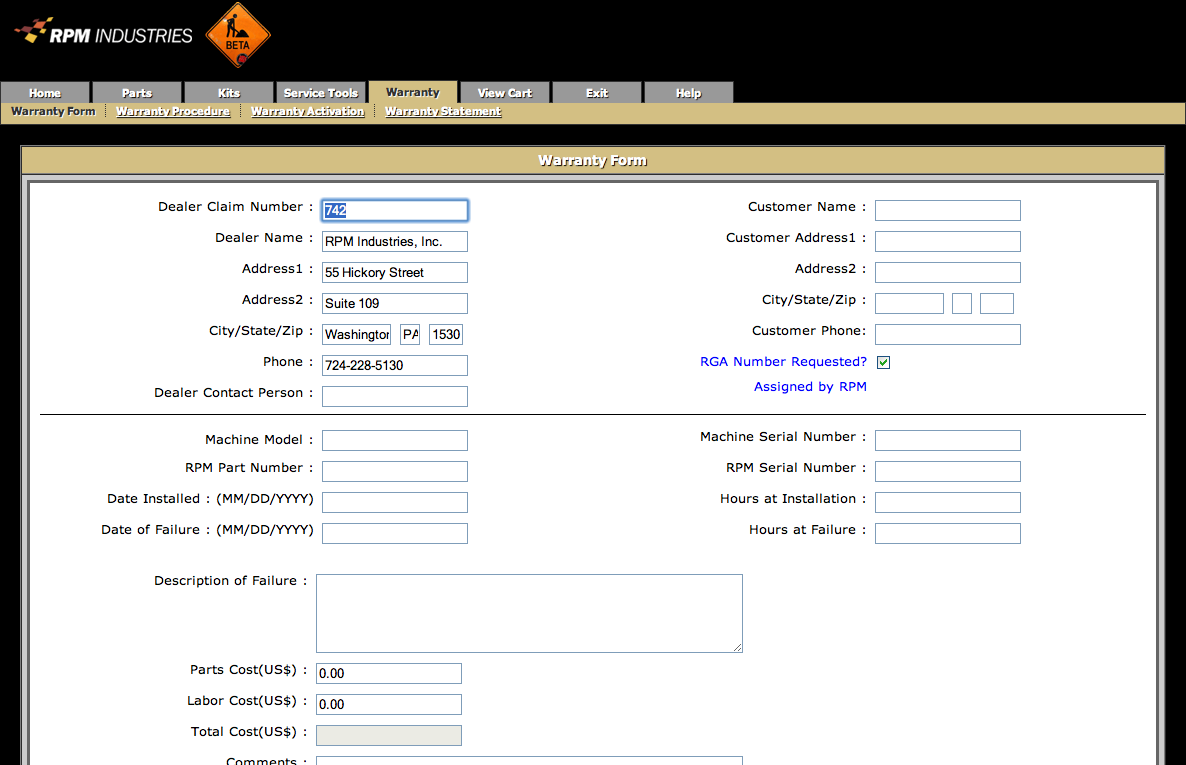
Figure 5.1.1 Warranty Claim Form continued
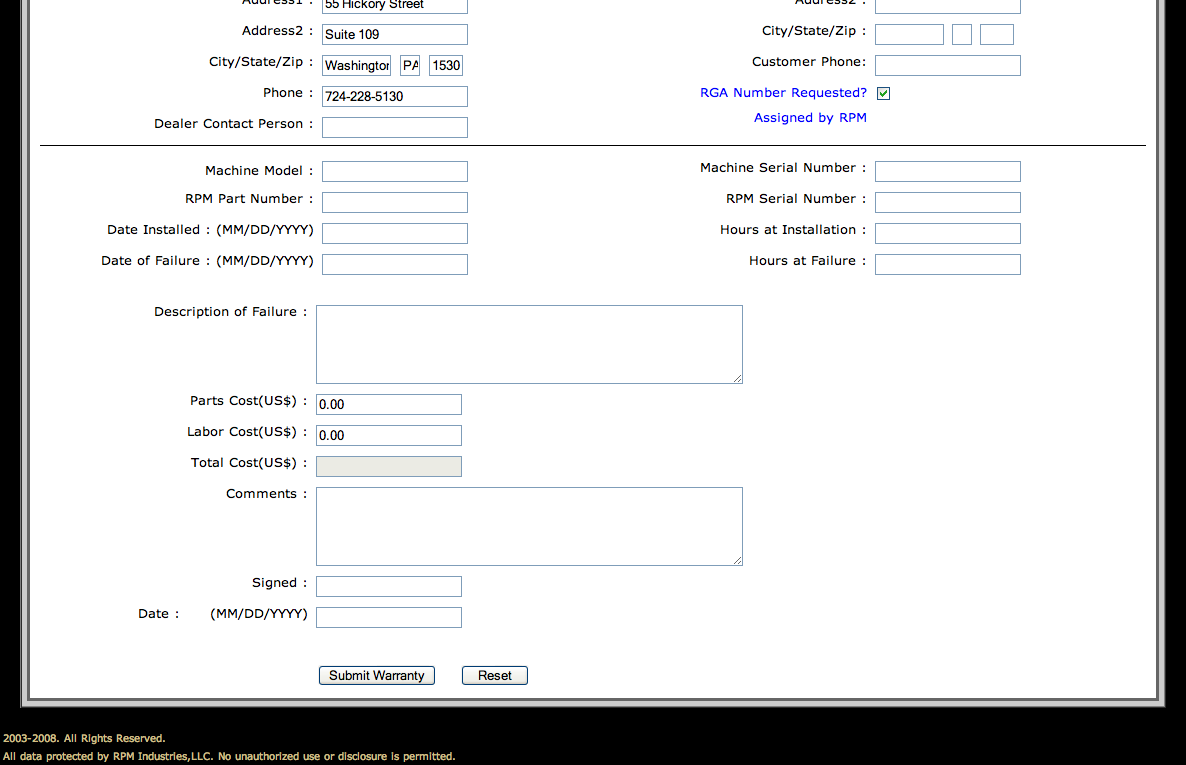
Figure 5.1.2. Warranty Claim Confirmation
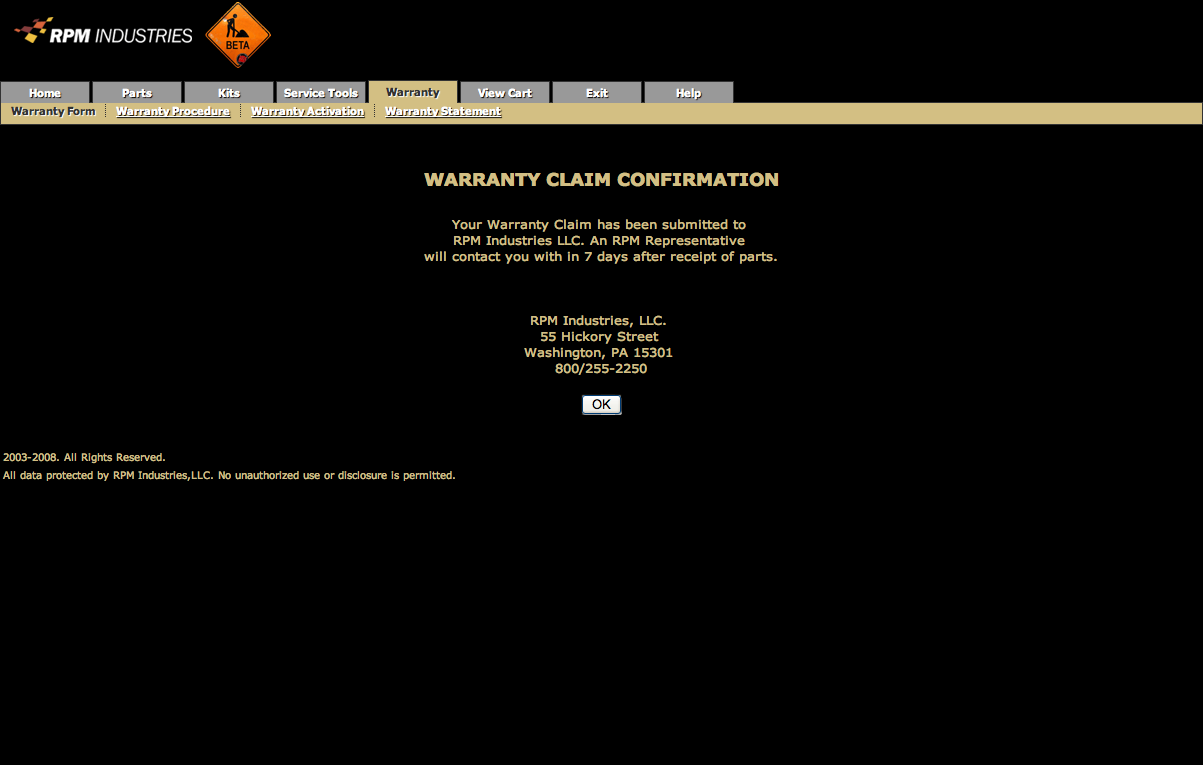
Figure 5.2. Warranty Activation Form
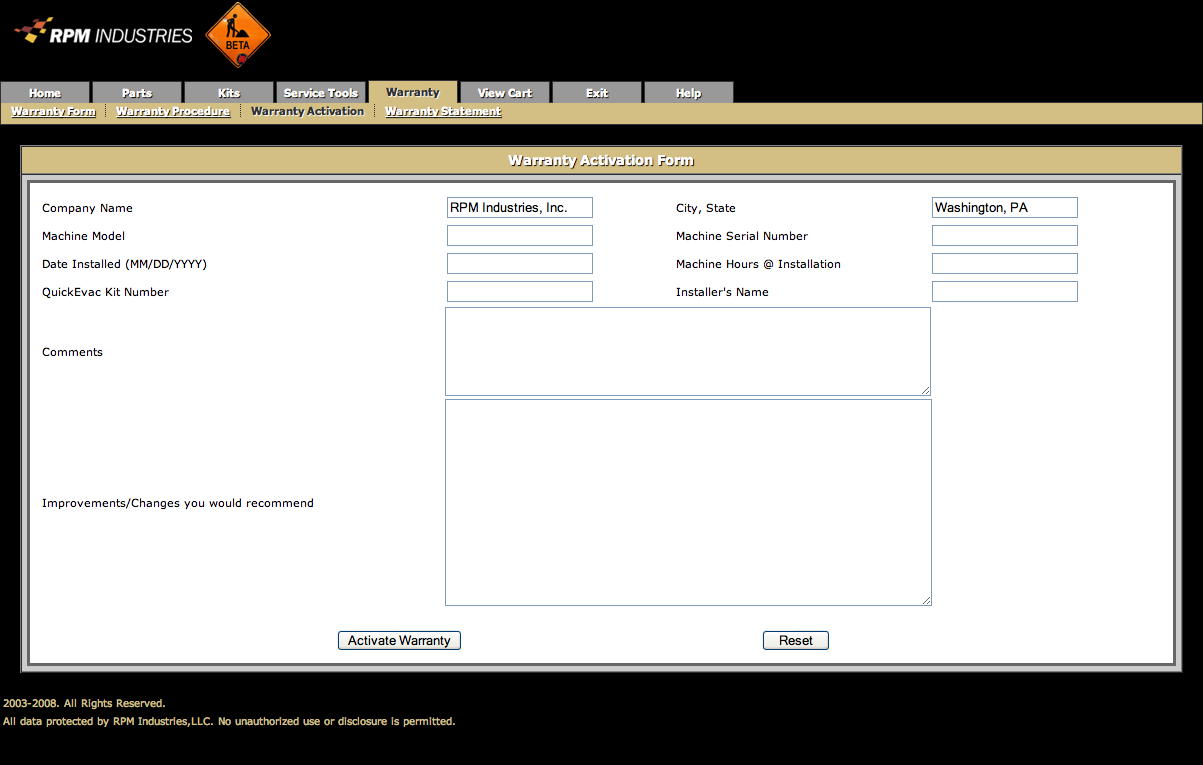
Fill in the Data beginning with the Machine Model. As you tab
through the top of the form complete each field. These are required
fields. Machine serial number must contain the entire serial number.
The “Installers Name” can be the branch name, the shop
that did the install or the individual installers name.
Comments and Improvements/Changes you would recommend are optional
fields.
Once complete click the Activate Warranty button.
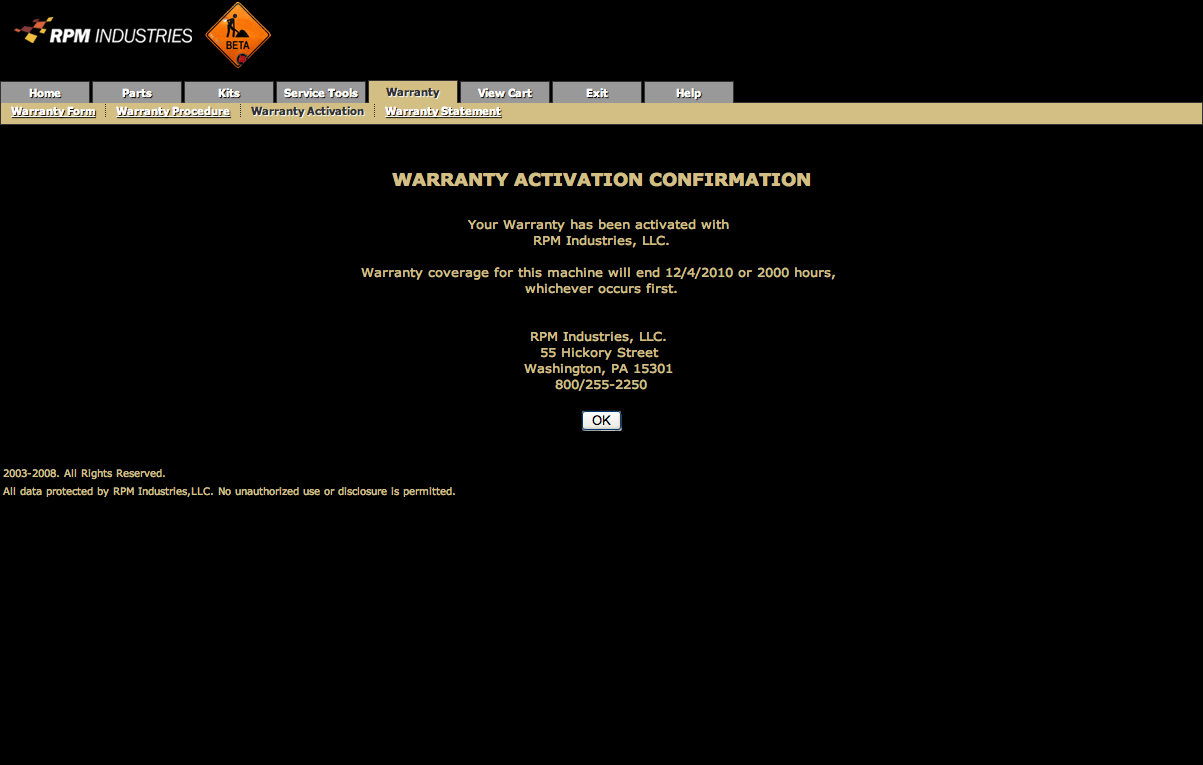
A confirmation page will display as shown below and your company
contact will receive an email notifying them that the machine has
been registered.
Figure 5.2.1. Warranty Activation Confirmation